
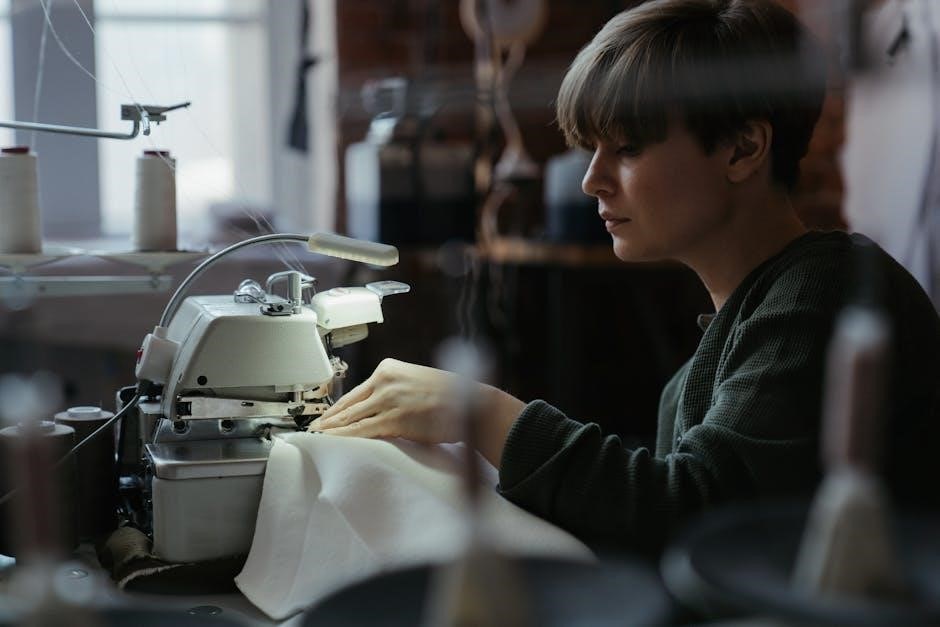
The Brother LS2125i is a versatile, lightweight sewing machine ideal for both beginners and experienced sewists. It offers a range of features, including 400 stitches per minute and a dual feeder system, making it perfect for basic sewing, mending, and crafting projects.
1.1 Overview of the Brother LS2125i Features
The Brother LS2125i sewing machine offers a range of user-friendly features designed for both versatility and efficiency. It operates at a maximum speed of 400 stitches per minute, making it ideal for quick projects. The machine features a dual feeder system, ensuring smooth fabric handling, and is lightweight for easy portability. It includes a detachable arm for convenient sewing of cuffs and sleeves and comes with multiple presser feet for various sewing tasks. The LS2125i also boasts an easy-to-use interface, making it accessible to beginners while still offering advanced functionality for experienced sewists. Its compact design and robust construction ensure durability and reliability for years of creative sewing.
1.2 Importance of Reading the Instruction Manual
Reading the instruction manual for the Brother LS2125i sewing machine is essential to ensure safe and effective operation. The manual provides detailed information about the machine’s features, functions, and maintenance requirements. It outlines safety precautions to avoid accidents and explains how to handle common issues like thread breakage or improper stitching. By understanding the manual, users can optimize their sewing experience, troubleshoot problems, and extend the machine’s lifespan. It also serves as a guide for exploring advanced features and improving sewing techniques. Taking the time to read and follow the manual ensures users get the most out of their machine while minimizing potential errors or damage.
1.3 Getting Started with Your Sewing Machine
Getting started with the Brother LS2125i sewing machine begins with unpacking and inspecting the machine and accessories. Place it on a stable, flat surface, ensuring good lighting. Plug in the power cord, making sure it’s securely connected to both the machine and the power source. Familiarize yourself with the basic controls and features before turning it on. Start by practicing on scrap fabric to get a feel for the machine’s operation. Always refer to the manual for specific setup instructions tailored to your model. Taking these initial steps ensures a smooth and safe introduction to sewing with the Brother LS2125i.

Safety Precautions
Always keep the machine out of children’s reach. Use the correct power supply. Avoid flammable materials nearby. Ensure good ventilation and proper handling of sharp parts.
2.1 General Safety Guidelines
- Always read the manual before use to understand proper operation and safety measures.
- Keep the sewing machine out of reach of children and pets to avoid accidents.
- Use the machine in a well-lit area to ensure clear visibility of all components.
- Avoid sewing over fingers or loose clothing that could get caught in moving parts.
- Never use the machine near flammable materials or in humid environments.
- Ensure the machine is placed on a stable, flat surface to prevent tipping;
- Unplug the machine when not in use or during maintenance to avoid unexpected start-ups.
- Follow all safety instructions provided in the manual to prevent injury or damage.
2.2 Electrical Safety Tips
- Use the sewing machine with the correct power source specified in the manual to avoid damage or electrical hazards.
- Never use damaged or frayed power cords, as they can cause electrical shocks or fires.
- Ensure the machine is properly grounded to prevent electrical shocks.
- Keep the sewing machine away from water or moisture to avoid electrical accidents.
- Unplug the machine when not in use or during maintenance to prevent unexpected start-ups.
- Avoid using the machine in areas with poor ventilation or near open flames.
- Do not overload electrical outlets with multiple high-power devices.
- Consult a qualified electrician if you notice any electrical issues with the machine.
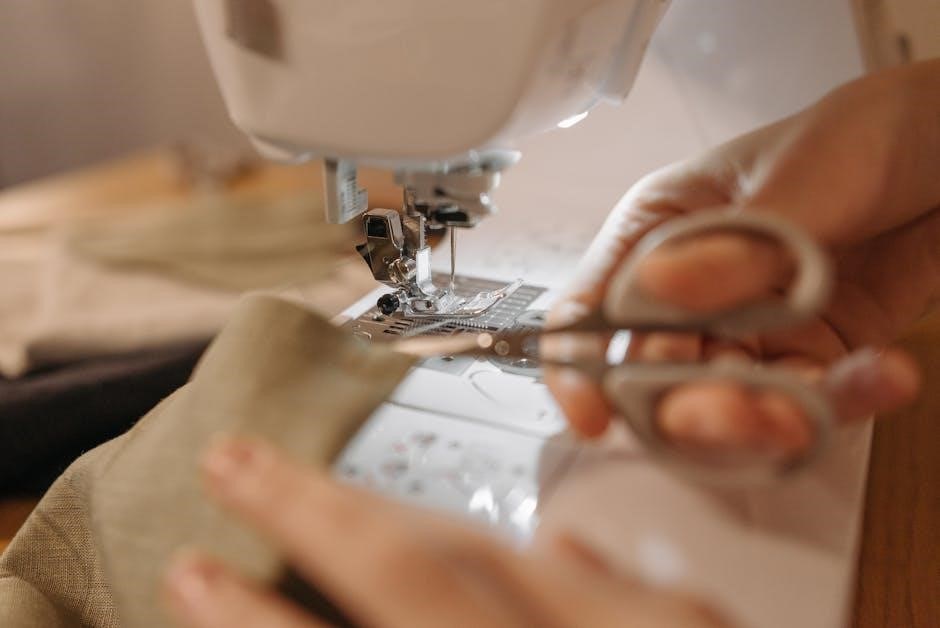
2.3 Handling Needles and Thread
Always handle sewing machine needles with care to avoid injury. Use the needle insertion tool provided to install or remove needles, as bare hands can easily be pricked. Keep needles away from children and store them in a protective case when not in use. When threading, ensure the thread is cut cleanly with scissors or a thread cutter to prevent frayed ends. Avoid touching the needle with your fingers, as oils from skin can cause rust. Regularly inspect needles for damage or dullness and replace them if necessary. Use high-quality thread suitable for your fabric to minimize breakage and ensure smooth stitching. Always refer to the manual for specific guidance on handling needles and thread for the Brother LS2125i;
Identifying Parts of the Brother LS2125i
Familiarize yourself with the Brother LS2125i’s components, including the spool pins, stitch selector dial, bobbin case, and presser foot. Use the manual for a visual guide.
3.1 External Components of the Sewing Machine
The Brother LS2125i features a user-friendly design with easily identifiable external components. The spool pins are located on the top right, used for threading the upper thread. The stitch selector dial allows you to choose from various stitch patterns. The presser foot lever is on the back, used to raise or lower the presser foot for fabric placement. The power switch is conveniently positioned on the right side for easy access. The handwheel is located on the right, enabling manual control of the needle. The bobbin cover is on the front, providing access to the bobbin area. Familiarizing yourself with these components will enhance your sewing experience. Always refer to the manual for visual identification and proper usage.
3.2 Internal Mechanisms and Their Functions
The internal mechanisms of the Brother LS2125i are designed for smooth and efficient sewing. The bobbin case holds the bobbin thread, ensuring proper stitching. The feed dogs, located under the needle plate, move fabric evenly during sewing. The hook system catches the upper thread to form stitches. The shuttle race guides the bobbin thread, maintaining consistent tension. The gear system powers the machine’s movements, while the motor drives the needle up and down. Regular maintenance of these internal parts, like cleaning and oiling, is essential for optimal performance. Understanding these mechanisms helps in troubleshooting and maintaining the machine effectively, as outlined in the manual.
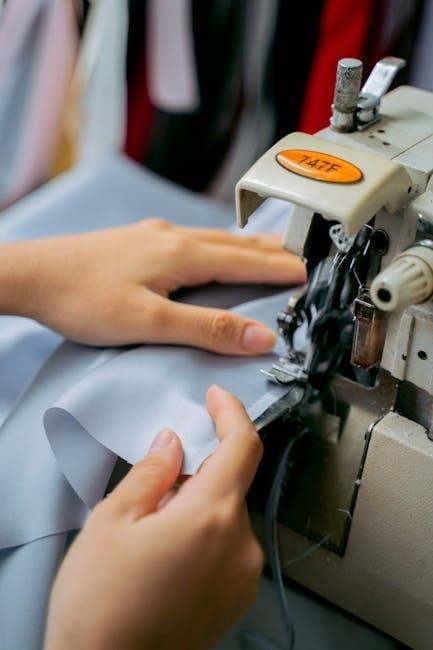
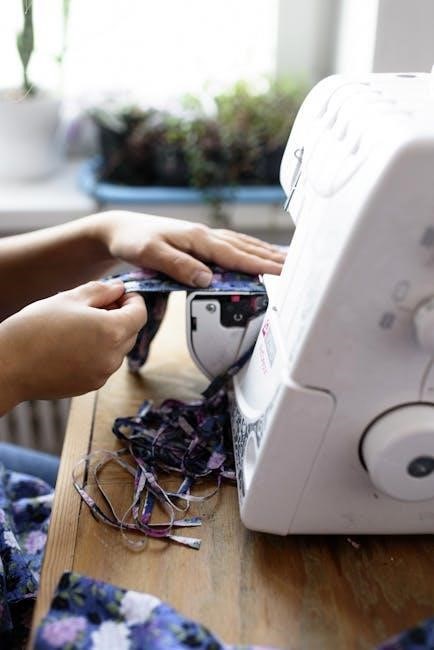
Threading the Sewing Machine
Proper threading ensures smooth stitch formation. Begin by placing the spool on the spool pin. Guide the thread through the take-up lever and tension discs. Then, insert the thread into the needle. For the bobbin, follow the manual’s specific winding and threading steps to avoid tangles. Always keep the machine turned off during threading to prevent accidents. Correct threading is essential for balanced stitches and optimal machine performance, as detailed in the Brother LS2125i manual.
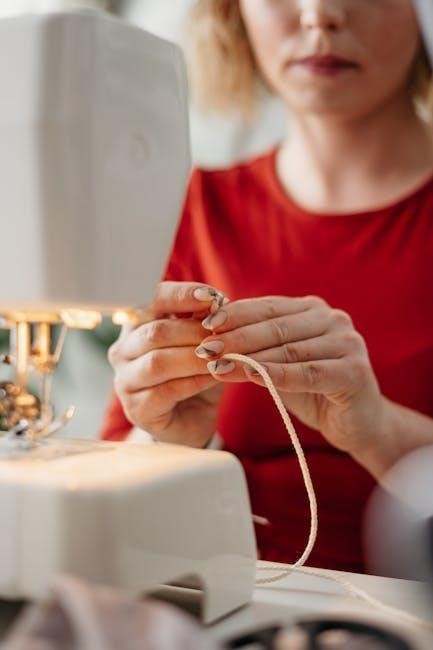
4.1 Step-by-Step Guide to Threading the Upper Thread
To thread the upper thread on the Brother LS2125i, start by placing the spool on the spool pin. Pull the thread through the first guide on the top of the machine. Next, pass it through the take-up lever, ensuring it is seated properly. Then, guide the thread through the tension discs and the remaining guides. Finally, insert the thread into the needle. Make sure the thread is not too tight or tangled. Always thread with the machine turned off for safety. Proper threading ensures smooth stitching and prevents issues during sewing. Follow these steps carefully to achieve the correct thread path.
4.2 Properly Threading the Bobbin
To thread the bobbin on the Brother LS2125i, start by placing the bobbin on the winder and wind the thread around it evenly. Once full, cut the thread and insert the bobbin into the bobbin case. Ensure the thread is pulled through the slot on the case. Hold the end of the thread and gently pull it to seat the bobbin properly. Guide the thread through the machine’s tension spring and bobbin case guides. Make sure the thread is not twisted or tangled. Properly threading the bobbin is essential for balanced stitching. Always refer to the manual for specific alignment and tension adjustments to avoid sewing issues. This ensures smooth operation and prevents thread breakage during use.
Basic Sewing Operations
Master the fundamentals of sewing with the Brother LS2125i. Learn to prepare fabric, select stitches, and operate the machine smoothly for professional results.
5.1 Preparing Fabric for Sewing
Preparing your fabric is essential for smooth sewing. Wash and dry fabric to remove sizing and shrinkage. Iron to eliminate wrinkles. Use stabilizers or interfacing for delicate materials. Cut fabric accurately, following patterns or measurements. Ensure edges are aligned properly before sewing. Remove any loose threads or debris. For thick fabrics, consider using a rotary cutter and mat. Always test fabric scraps with the machine settings before sewing the actual project. Proper preparation ensures even stitching and professional results. Avoid sewing over pins to prevent damage. Use a seam ripper to carefully remove mistakes without harming the fabric. This step sets the foundation for successful sewing projects.
5.2 Selecting the Right Stitch Type
Selecting the appropriate stitch type is crucial for achieving professional results. The Brother LS2125i offers various stitches for different fabrics and tasks. For general sewing, use the straight stitch. Opt for the zigzag stitch on stretchy fabrics to prevent tearing. The reverse stitch reinforces seams, while decorative stitches add aesthetic touches. Consult the stitch chart on the machine or in the manual to choose the best option. Always test the stitch on scrap fabric before sewing your final project. Proper stitch selection ensures strong, durable, and visually appealing seams. Match the stitch type to your fabric and project needs for optimal outcomes. This enhances both functionality and appearance of your work.
5;3 Operating the Machine for Straight Stitch Sewing
Start by turning on the Brother LS2125i and selecting the straight stitch option. Ensure the machine is properly threaded and the presser foot is lowered. Place your fabric under the needle, aligning the edge with the machine’s guide. Gently press the foot pedal to begin sewing at a steady pace. Keep the fabric moving smoothly, maintaining consistent tension. Avoid pulling the fabric forcefully, as this may cause uneven stitching. Use the handwheel to manually lower or raise the needle if needed. Backstitch at the beginning and end of your seam for secure results. This process ensures straight, even stitches for basic sewing tasks.
Troubleshooting Common Issues
Identify and resolve issues like thread breakage, uneven stitches, or machine jams by consulting the manual or contacting Brother support for assistance and guidance.
6.1 Resolving Thread Breakage Problems
Thread breakage can occur due to improper threading, incorrect tension, or using low-quality thread. To resolve this, rethread the machine following the manual’s guide, ensuring the thread passes through all guides smoothly. Check the tension settings and adjust them if necessary. Use high-quality, compatible thread suitable for your fabric type. Avoid pulling the fabric excessively while sewing, as this can cause thread breakage. If issues persist, clean the machine’s thread path and ensure the needle is properly inserted. Regularly inspect for thread tangles or knots. Refer to the Brother LS2125i manual for detailed troubleshooting steps and solutions to maintain smooth stitching performance.
6.2 Adjusting Thread Tension
Proper thread tension is essential for consistent stitching. To adjust the upper thread tension on the Brother LS2125i, locate the small dial on the front of the machine. Turn the dial clockwise to tighten or counterclockwise to loosen the thread. Start with small adjustments and test the stitches on a scrap fabric. If the lower thread is too loose, increase the bobbin tension by gently turning the small screw on the bobbin case. Ensure the thread flows smoothly without resistance. Refer to the manual for specific guidelines, as improper tension can lead to uneven stitches or fabric puckering. Always test stitches before sewing your final project.
6.3 Fixing Bobbin-Related Issues
If you encounter bobbin-related issues with your Brother LS2125i, start by ensuring the bobbin is properly seated in the bobbin case. Check for any lint or debris that may be obstructing the area and clean it gently with a brush. If the bobbin thread is not tensioning correctly, adjust the small screw on the bobbin case to tighten or loosen the tension. Ensure the bobbin is wound evenly and not overfilled. If the bobbin case is misaligned, refer to the manual for proper alignment instructions. Using the correct size and type of bobbin is crucial for smooth operation. If problems persist, consider consulting the manual or contacting Brother support for further assistance.
Maintenance and Care
Regular maintenance ensures optimal performance. Clean the machine by removing lint and debris, oil moving parts, and store it properly. Use appropriate tools and follow the manual for longevity.
7.1 Cleaning the Sewing Machine
Regular cleaning is essential for maintaining the Brother LS2125i’s performance. Turn off and unplug the machine before cleaning. Use a soft brush or vacuum to remove lint and debris from the bobbin area, tension discs, and stitch plate. Avoid using harsh chemicals or wet wipes, as they may damage the machine’s finish. Gently wipe exterior surfaces with a dry cloth. Clean the needle area thoroughly to prevent thread jams. For stubborn lint, use a small, dry paintbrush. Regular cleaning prevents dust buildup, ensuring smooth operation and prolonging the machine’s lifespan. Always refer to the manual for specific cleaning instructions tailored to your model.
7.2 Oiling the Machine for Smooth Operation
Oiling your Brother LS2125i sewing machine is essential for maintaining smooth operation and extending its lifespan. Turn off and unplug the machine before oiling. Locate the oiling points, typically found near the bobbin area or sewing head, as indicated in the manual. Use only the recommended sewing machine oil to avoid damaging the internal components. Apply a few drops to the specified areas, then gently turn the handwheel to distribute the oil evenly. Allow the machine to sit for a few minutes before testing it with a scrap piece of fabric. Regular oiling ensures optimal performance and prevents mechanical friction. Always refer to the manual for specific guidelines.
7.3 Storing the Sewing Machine Properly
Proper storage of the Brother LS2125i sewing machine is essential to maintain its performance and longevity. Always turn off and unplug the machine before storing it. Use the provided dust cover to protect it from dust and debris. Store the machine in a cool, dry place away from direct sunlight and moisture. Avoid extreme temperatures, as they may damage internal components. Keep the machine upright to prevent oil from leaking into the mechanism. Store accessories like bobbins, needles, and presser feet in a separate, labeled container. Before storing, ensure the machine is clean and free from thread residue. Regularly check the machine for dust or damage before use. Proper storage ensures optimal functionality for future projects.

Accessories and Optional Features
The Brother LS2125i comes with various accessories to enhance your sewing experience. Included are multiple presser feet, additional bobbins, and a variety of needles. Optional features like specialty presser feet and custom stitch patterns are available to expand functionality, allowing for more creative and precise sewing projects.
8.1 Overview of Included Accessories
The Brother LS2125i sewing machine comes with a variety of essential accessories to enhance your sewing experience. These include a set of bobbins, sharp sewing needles, and a few presser feet, such as the zigzag foot and zipper foot. Additionally, you’ll find a dust cover to protect your machine when not in use. Other included items may consist of a screwdriver for adjusting the machine and a seam ripper for correcting mistakes. These accessories are designed to help you tackle various sewing projects efficiently. Always use genuine Brother accessories to ensure compatibility and optimal performance.
8.2 Using Optional Presser Feet
The Brother LS2125i sewing machine supports various optional presser feet to enhance your sewing experience. These include the zipper foot, blind hem foot, and walking foot, each designed for specific tasks. To use optional presser feet, first, remove the standard foot by lifting the presser foot lever and sliding it off. Attach the desired optional foot by aligning the shank and securing it firmly. Adjust the presser foot tension if necessary for optimal fabric handling. Optional presser feet allow for more precise control and better results when working with zippers, hems, or thick fabrics. Experiment with different feet to expand your sewing capabilities.
Advanced Sewing Techniques
Explore advanced sewing techniques to enhance your projects. Learn reverse sewing for reinforced seams and special stitches for decorative or functional details. Experiment with varied fabrics and patterns.
9.1 Sewing in Reverse
Sewing in reverse on the Brother LS2125i allows you to reinforce stitches at the beginning or end of a seam. To sew in reverse, locate the reverse stitch button on the front of the machine. Press and hold this button while starting your stitch to sew backward. Release the button to return to forward sewing. This feature is especially useful for securing fabric edges and preventing fraying. Always use a steady pace and ensure the fabric is properly aligned before reversing. For best results, test the reverse stitch on scrap fabric to familiarize yourself with the function.
9.2 Using Special Stitches
The Brother LS2125i offers a variety of special stitches, including decorative, stretch, and heirloom stitches, perfect for adding unique touches to your projects. To use these stitches, select the desired stitch using the stitch selector dial or button, depending on your machine’s model. Always refer to the stitch chart provided in the manual for guidance. For decorative stitching, use the zigzag foot to allow smooth fabric movement. Adjust stitch length and width as needed for optimal results. Experiment with different thread colors and fabrics to enhance the visual impact. Practice on scrap fabric before sewing on your final project to ensure the desired effect.
Sewing Machine Specifications
The Brother LS2125i features 10 built-in stitches, including straight, zigzag, and stretch stitches. It operates at a speed of 400 stitches per minute, offering versatility for various fabrics. The machine weighs approximately 10.25 lbs, ensuring portability and easy storage. Optional accessories like additional presser feet enhance its functionality for specialized sewing tasks.
10.1 Technical Details of the Brother LS2125i
The Brother LS2125i is a versatile, lightweight sewing machine designed for both beginners and experienced sewists. It measures approximately 12 inches in width, 7 inches in height, and 6 inches in depth, weighing around 13 pounds, making it portable for easy storage and transport. The machine operates with a robust rotary hook system and features 10 built-in stitch patterns, including straight, zigzag, and decorative stitches. It also includes a 4-step buttonhole for precise results. The LS2125i comes with a free-arm design, allowing easy access for sewing cuffs and sleeves. It uses a class 15 bobbin and includes a LED light for improved visibility. The machine is backed by a 25-year limited warranty and is compatible with optional presser feet for specialized tasks.
Online Resources and Support
The Brother website provides extensive online resources, including the official LS2125i manual, troubleshooting guides, and FAQs to assist users in mastering their sewing machine.
11.1 Accessing the Official Brother LS2125i Manual
To ensure optimal use of the Brother LS2125i sewing machine, it is essential to refer to the official instruction manual. The manual provides detailed guidance on operation, maintenance, and troubleshooting; You can access the official Brother LS2125i manual on the Brother Industries website. Visit their official support page, navigate to the “Manuals & Documentation” section, and search for the LS2125i model. The manual is available for free download in PDF format, allowing you to print or save it for easy reference. Additionally, the manual covers essential topics such as safety precautions, threading, stitch selection, and advanced features. Always use the official manual to avoid misinformation and ensure proper machine care.
11.2 Finding FAQs and Troubleshooting Guides
For the Brother LS2125i sewing machine, finding FAQs and troubleshooting guides is straightforward. Visit the official Brother website, where a dedicated support section provides answers to common questions and solutions for typical issues. Additionally, the website offers downloadable resources, including troubleshooting guides specific to the LS2125i model. Users can also explore community forums and sewing groups, where experienced users share tips and solutions. If issues persist, Brother’s customer support team is available to assist. These resources ensure that users can quickly resolve problems and continue sewing with ease. Always check the official Brother website for the most accurate and up-to-date information.
The Brother LS2125i sewing machine offers versatility and ease of use, making it ideal for both beginners and experienced sewists. By following the manual, users can master its features, troubleshoot common issues, and maintain the machine for years of reliable service. Regular practice and exploration of its capabilities will enhance sewing skills and creativity.
12.1 Summary of Key Takeaways
12.2 Encouragement to Practice and Explore
Now that you’ve familiarized yourself with the Brother LS2125i, it’s time to embrace creativity and confidence. Regular practice will help refine your sewing skills and unlock the machine’s full potential. Start with simple projects like straight-line sewing or basic repairs, then gradually experiment with decorative stitches and advanced techniques. Don’t hesitate to explore optional presser feet or specialized threads for unique results. Remember, practice is key to mastering your craft. Take advantage of online resources and tutorials for inspiration and troubleshooting. Most importantly, enjoy the journey of creating something with your own hands—every stitch is a step toward new possibilities!